Today's Rendezvous Monday tutorial over on Cuttlebug Challenge is this article on Cuttlebug Sandwiches. I know some of my viewers are followers of my blog as well as CBC, and some are not, so I hope you will forgive me for double posting. I know some of my students don't always get over there, so I wanted to post it here as well!
I have put together a series of photos showing how to use your Cuttlebug with a whole host of embossing and cutting tools.

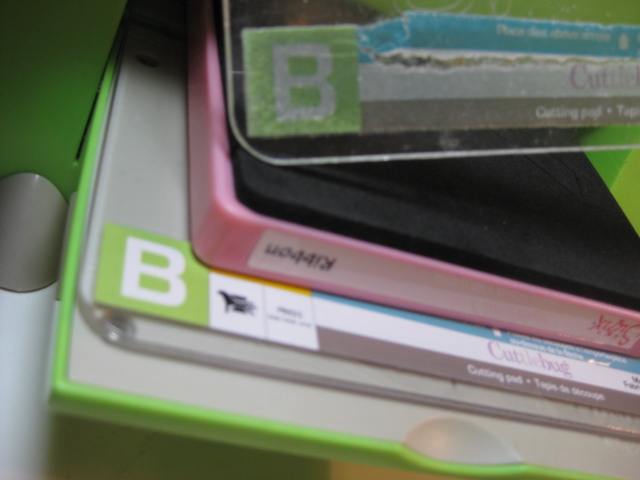
The basic materials for each project will be your Cuttlebug and embossing or spacer plates. The base plate is the "A" plate. It is the thick white one. Then there are two "B" plates, and they are the identical thinner ones. Amd last there is one "C" plate. The layering of these plates, and the paper, or other material to be embossed or cut, is commonly called a "sandwich".

Your Cuttlebug folds flat for storage, and has a nice retractable handle for carrying, but when it's ready for use, the two sides fold down, and activate a suction that holds it securely to your desktop. It is designed so that it can be used for right or left handed operation.


In these three photos, you will see the basic paper embossing process. First insert paper or cardstock into an embossing folder, which has a raised and a depressed image which will leave a design on the paper. Then create a sandwich of an "A" plate on the bottom, then a "B" plate, the Cuttlebug folder with paper inside, and then a top "B" plate. Turn the handle on the side, which runs all three plates and the folder through the roller wheels of the Cuttlebug, exerting even pressure on the embossing folder, and leaving a nice, crisp, clean impression in the paper!


Cuttlebug is also designed to cut paper with metal blades called dies. The one in the photos above is a Cuttlebug snowflake die (and I sincerely apologize for the sideways photos that blogger refuses to upload correctly, no matter what I've tried) These dies are very handy for cutting quick, crisp images, and often come with matching embossing folders for adding details.
The sandwich is the same for cutting with these dies as it is with embossing folders, as the thickness is the same. However, you need to note that the spongy side of the folder is placed facing UP, as this is where the most force is on the blades, so you get a cleaner cut...AND you will also note that it cuts your "B" plate! THIS IS NORMAL! It will make noises, and cracking sounds, and it will possibly bend your metal die, and your "B" plate. All of this is normal. However, if you are ever having to exert an extreme amount of pressure to turn the handle, then something is too thick, and you could break your machine, and you should stop and make adjustments. Back to bent "B" plates, turning them over is helpful, and even heating them with a heat gun, and putting them under a heavy object has been known to give them a little bit of extended life, but they do occasionally break, thus they are considered consumables, and you can get replacements in your favorite craft stores.


Run it through the Cuttlebug, and pop out a beautifully cut out snowflake in a flash! The negative image is often very useful as well!

These two photos will not turn over, so again, I am sorry, but I'm sure you can follow along just fine. This is the sandwich on how I use Spellbinders Nestabilites in my Cuttlebug. Here you use the "A" plate, then "B" plate, your image, and carefully placed Nestability (here I used a Deckle Edged Rectangle around the Rose) and then you use the "C" plate, due to the thin profile of the Nesties. Make sure the blade is facing the plate you want to be cut!

It does a beautiful job, and to emboss the edge with the Nestie, just add the rubber mat, and run it through again... sorry, the photo isn't available for that step. The sandwich remains the same, and the blade faces the rubber mat.


Here we have the Sizzix Cutting dies in the Cuttlebug. This time we don't use the "A" plate, due to the thickness of the Sizzix plate itself. We use two "B" plates, one on the bottom, then the die and paper, and one on the top. Again, with the blades facing the top rollers, you get a nice, crisp cut.

This shows how I use a Sizzix embossing plate. It is a bit of an experiment sometimes, but worth it, because of the all over designs, and the subtle images, if that is the desired look. Sizzix plates are double sided, and have patterns that go a little outside the 5x7 sides. If you want a deeper image, I have found that misting your paper will help. The sandwich is "A" plate, Sizzix, paper, soft rubber mat that comes with the Sizzix impressions plates, and then the solid plate that also came with the impression plates. This was the right depth for this paper. Sometimes it is necessary to add a shim of thin chipboard or a piece of cardstock or two to get the right thickness.


And last, but not least, you can use your Cuttlebug to make beautiful impressions with your own custom made embossing folders. This one was made with chipboard cut with the Cricut, and adhered to acrylic. The sandwich is an "A" plate, "B" plate, the folder with cardstock, then another "B" plate and a piece of chipboard (happens to be blue) to make the pressure just right. Voila' ~ you have another beautiful impression from Cuttlebug!
I hope this tutorial has been helpful to you, and that you will bookmark it with your favorites, so you can pop back whenever you need a little refresher. If you have any questions or comments, please, please take a moment and say a word or two! I love hearing from you.
What else would you like a tutorial about?
I'm off to create some more fun goodies, as well as preparing some new classes!
Happy crafting ~