I have been inspired by several talented blogging friends, like
Emma Fewkes and
Cards by Bird, as well as a wonderful tutorial on Splitcoast Stampers... and now I am all over making
Bendy Cards!
These great cards create a scene, yet fold flat to go into a regular envelope!
I have made my own adjustments to their designs, and I cut my paper to 4.25 x 11.
Score at 5.5. Then cut the left side (facing the card) down to 2.5 inches, leaving a 2.5 inch tall "front" on the card. The remaining piece that you have removed is 1.75 x 5.5. This will become the "right arm".
Score the "left arm end" at .25 of an inch. Then score the 1.75 x 5.5 inch piece .5 on the right end and .25 on the left end. Use double sided tape to attach the .5 inch end to the back of the card, creating the two "arms". The left arm is taller than the right, as shown in the photo below.
I have taken a pencil and free hand drawn the "hill". Cut with scissors.
Cut a tab into the .25 inch scored section on each arm.
Measure 2.25 inches from the left scored edge, and cut a slit for the right tab to fit into. Measure the spot, and use the tab to mark the top and bottom of the slip. Cut with craft knife.
The slit for the left arm tab is 1.25 inches from the right side, cut into the back wall of the card. Again, use the tab of the left arm as the guide for exact fit of the slip.
Distress and add decorations as desired!
This birthday cake is an adaptation, because the "arms" wrap all the way from side to side.
Cakes have straight layers, and I wanted to be sure it looked like a beautiful cake,
with frosting inside and out!
It will not fit into a regular A2 envelope, as the candles add a bit of height,
and the "arms" add length,
so a 5 x 7 envelope is needed...
but so worth it!
Here is a cheery, sunny, Get Well garden for a friend.
The sun image is a great one from my
Digital Delights by LoubyLoo files!
Here are the two arms outstretched, and you can see the .25 inch tabs.
One more!
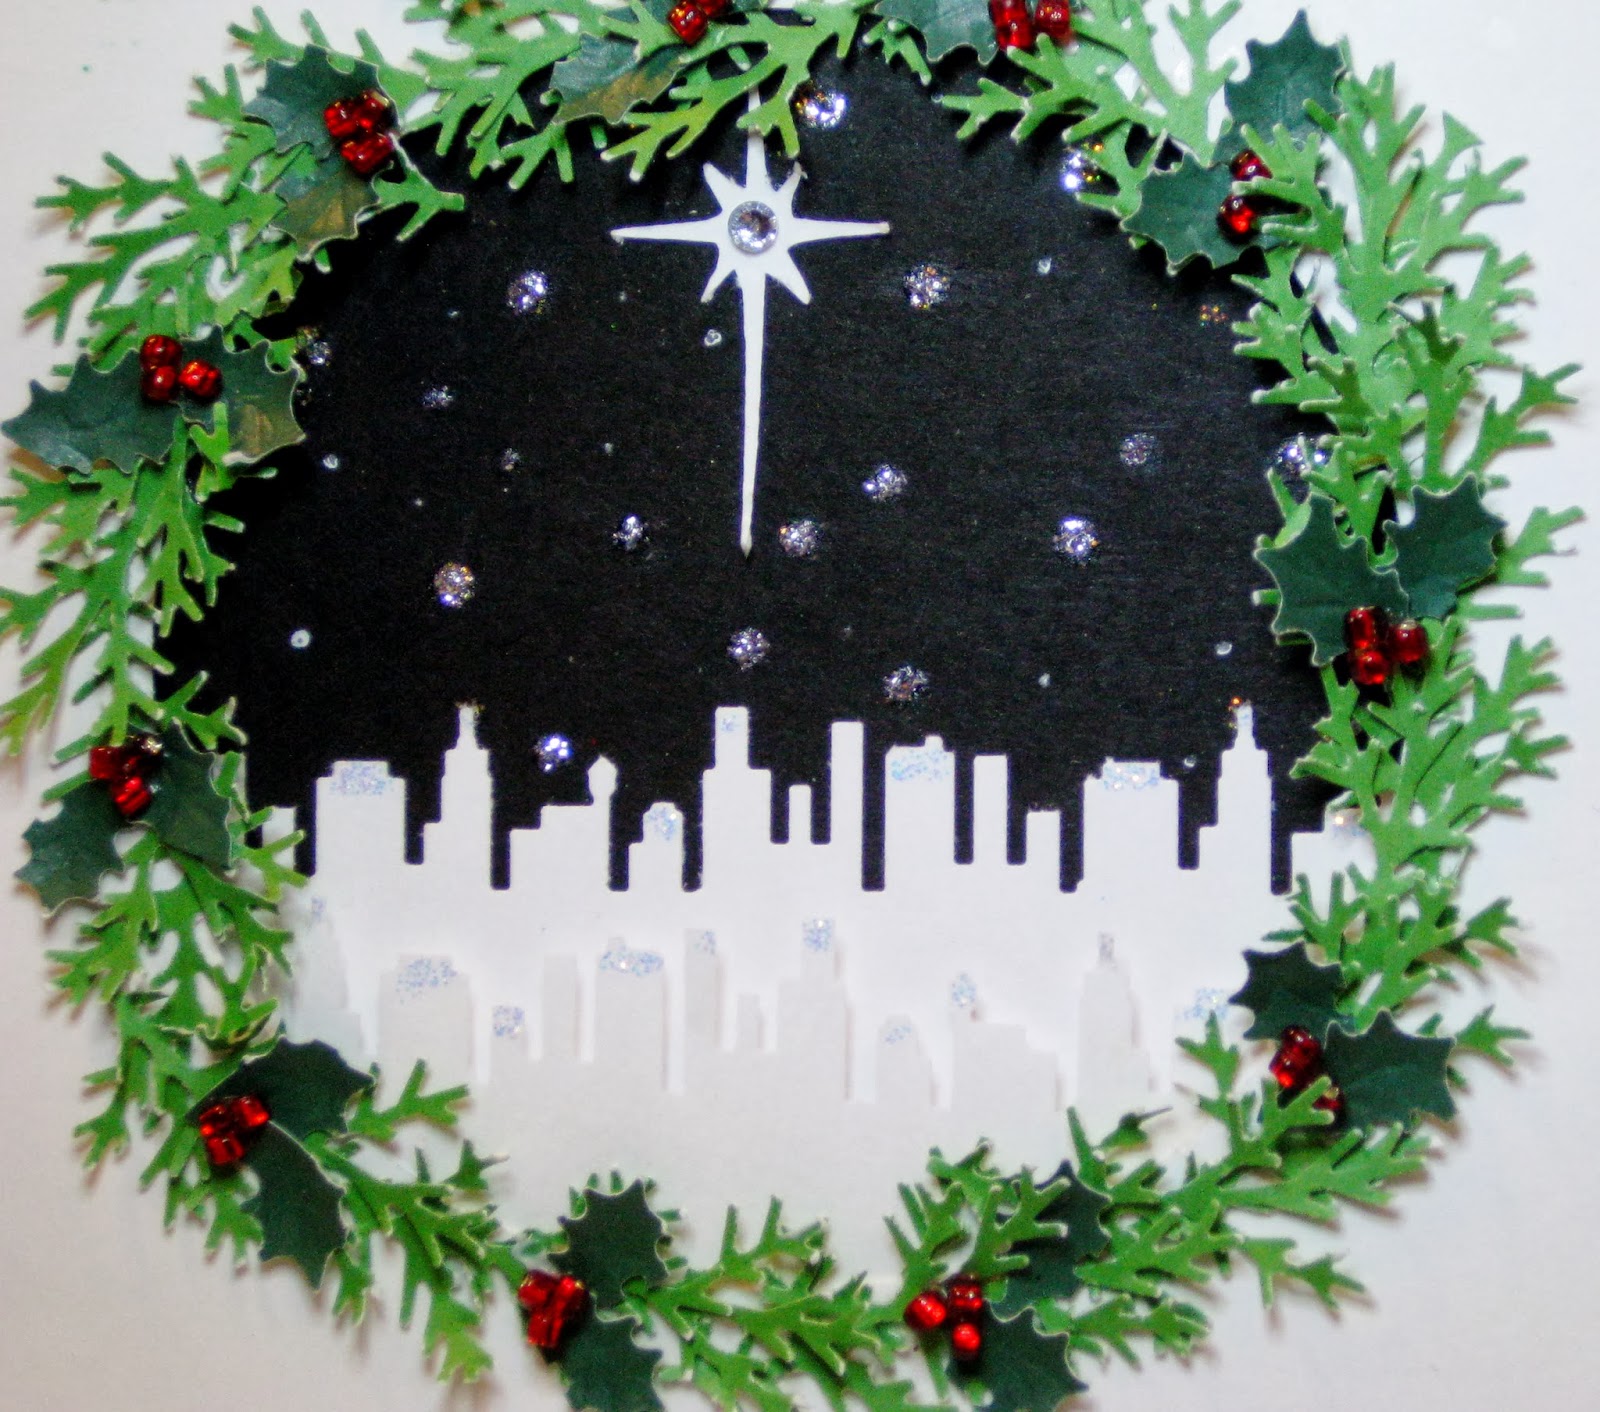
Looking ahead to the holidays!
The sign on the back "wall" says "Warmest Wishes!"
and that's what I wish for you!
Thanks for allowing me this few moments in your inbox today.
I hope you get a bit of inspiration,
and give these fun projects a try.
Let me know if you have any questions,
and show me pictures of your efforts on
Happy crafting ~