Showing posts with label Vinyl. Show all posts

Thursday, December 6, 2012

Vinyl Tiles

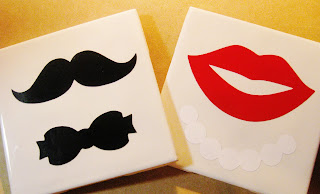
One of my favorite mediums is vinyl.  I am having a VINYL PARTY on Tuesday, and we are making lots of tiles for gifts.  It is easy to create lots of customize-able goodies with vinyl and your die cutting machine. 

 Adjust the cutting depth so that you "Kiss Cut" the vinyl, cutting only the vinyl and not the backing paper, weed out the unwanted parts, then use transfer paper or masking tape to move your project from the backing paper to the project.  Easy! 
Here are samples of the designs we are making.  You have seen the Wise Men Still Seek Him tile before :)


LOL  Blogger and I must have wanted you to know that I really like the black and pink one about laughing - it's a girl thing!  I have a couple more that we will be doing.  If you are in the area and want to join in, just send me an email, and I'll send you the specifics!  If not, I hope you will get some vinyl, a few tiles, and have fun :)
Bee creative~
Photobucket


Monday, March 26, 2012

Vinyl on Tile

This has been a busy week, and I've spoken with several family members and friends who have been facing some obstacles and challenges, and this tile that I did a few weeks ago seems to be good advice to remember now and then.
Here is how it looked, cut on my Cricut mat.  I used wide masking tape to transfer it to the
16 inch tile. 

I will be doing a class on hand lettering on my UStream class
Tuesday evening this week at 8:00 eastern time.
Just click on the icon in the upper right corner, and it will take you there.  You can become a member of the "crowd" and add my channel to your favorites, too :)
Bring a pencil, black fine line pen, eraser, white paper, ruler, markers or colored pencils,
and get ready to have some fun!
Happy crafting~
Photobucket

Tuesday, February 14, 2012

♥Daily Love Letters♥

Happy Valentine's Day! 
 I hope you are feeling loved today, if not by a sweetheart, by friends, family, nature, God, and a happy heart...

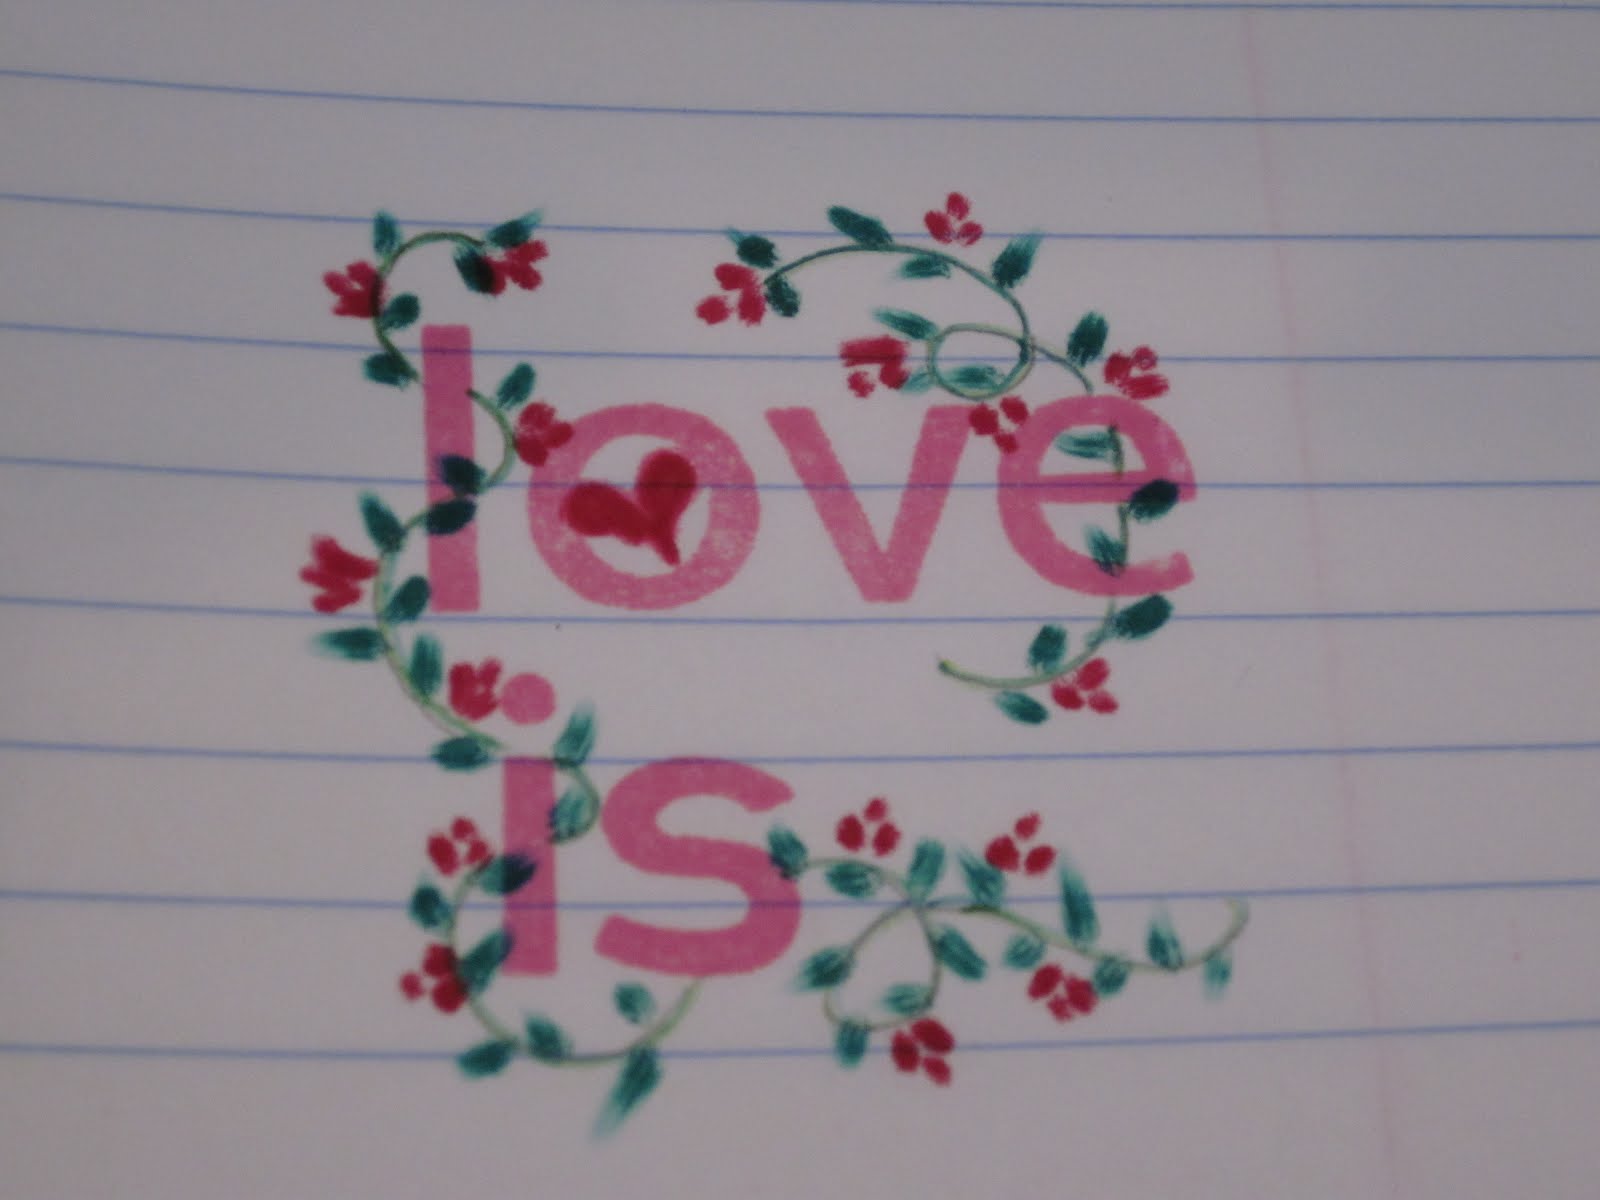
I want to share my Valentine project for my hubby, (which was also my vinyl UStream class for last week) called DAILY LOVE LETTERS
This is an altered composition book designed to be used by The Babe and I
every day, for messages back and forth just between us.

 This particular book happened to have two chipboard covers stitched on, so we have a photo gallery page front and back!  This paper is from the Recollections All Seasons 180 page stack.
I stamped and put vinyl stickers throughout the book to decorate the pages, carrying the theme all the way from cover to cover.
This project works wonders with youth, too.... try sharing messages of love in written notes, because once shared on paper, they are also written on the heart.

Happy Day of LOVE to you! 

PS... Don't forget that there isn't a UStream class tonight because it's Valentine's Day... (and I'm out of town this morning)  If you don't have a h♥t date tonight, I invite you to check out one of the recorded classes on my UStream channel, and I'll see you next Tuesday!
Photobucket

Tuesday, February 7, 2012

Two Cards and a Sneak Peek

Well, OK, I'v decided to do the sneak peek first :)  Here is one of the projects I have done for this week's UStream Class!  We are still working with the Cricut Machine, and our focus this week is
CUTTING VINYL

We will be making a couple of different projects, so bring some vinyl, ARMOUR ETCH cream, a glass pie plate or cassarole dish, and a composition book or other journal!  Your vinyl can be any type from wallpaper or contact paper to the types specifically manufactured for diecutting machines.
I hope to see you at 8:00 eastern time Tuesday, Feb. 7th.  If you can't make it, you can always check out the recording of my classes.

The next little piece that I'd like to share today is a birthday card for my sister, Joni!
What is significant is that these are the very first cuts I have made with my new
SLICE Machine!!
I must say I am VERY impressed with how intricately this little giant cuts!!!
It will cut images from 2 - 4 inches with 1/2 inch increments.   The images that are available with it are quite nice.  My next project was 40 CTR Shields, and that was a "Cricut" appreciation project, because the Slice only cuts one image at a time, but I still love the convenience of taking it to a crop in a small tote, with all 15 of my cartridges in this book I made for them.
I also love that it is battery powered, so it is extremely portable. 

This last card is a shout out to a special lady who is REACHING OUT to a lot of people.  I don't want to embarass her by telling her good deed in public, but I wanted to thank her for being so dedicated to her cause, and going the extra mile. 
Don't forget you still have until midnight eastern time on Feb. 9th to REACH OUT and do something for someone and enter it into my BIRTHDAY BLOG CANDY contest, and you could be the winner of a Birthday Cakes Cricut Cartridge!  Just link your project to the Inlinkz post, or send me an email, and I'll be sure to post it for you. 

Thanks for dropping by, and

Happy crafting~

Photobucket
Linked to: Stamp, Scrap & Doodle Saturdays Challenge ~ Die Cuts and/or Punches

Saturday, February 26, 2011

Bee Projects

Here are some SWEET projects that I've been working on for a very special retreat with my dear friends, and design team, the HoneyBees!  We spent several days together just crafting, sharing ideas, tutoring, laughing, eating, and getting to know one another SO WELL.  It was the PERFECT SWARM!
 I stamped these bee hives and bees (CTMH) and added them to tubes of yellow and black M&Ms!
 One of our projects was to etch a commemorative mug.  I designed the logo on Make The Cut, and we cut out the vinyl, etched the designs and our names, and then enjoyed Root Beer Floats!

Court designed shirts, and screen printed them with her Yudu.  We added lots of gems with our I-Rocks.
Here are the HoneyBees!  Kristi, Rosemary, Court, June, Wanda and myself. 
I hope you get a chance to visit us over at BettyBee's Buzz, and see what we come up with to inspire you!  Monday we will be sharing another project that we did at our retreat. 


Happy creating ~

Photobucket

Tuesday, November 30, 2010

Vinyl Projects - Step by Step


Creating beautiful vinyl projects can be some of your favorite Christmas gifts this year, and I have the step-by-step directions for you here today. I hope you will find some great inspiration!


This ceramic tile costs a mere 69 cents at a local home improvement store. It is 13 inches square, and the vinyl is a scrap from a local sign shop.... again just a few cents worth. I have used Make-The-Cut for this project, but the principles that I am using are the same for any Cricut project.


The most important thing I could tell you is to ADJUST the BLADE to 2 or 3 so that it only cuts through the top layer of vinyl, and not the backing sheet!!! This will allow you to maintain the proper alignment that your Cricut has already created for you! (Trust me... hehehehe!) Check out this post to see a BIG vinyl job that I did, so I know what I am talking about :)


This is what your finished project will look like (after flexing the project so you can actually see the cuts).


This is "weeding" or removing all of the unwanted vinyl from the backing sheet. Be careful to save all of the centers of "e's" and other such letters, and make sure you don't let the weeds get stuck to the letters you are keeping.


This is completely weeded, and ready for the transfer tape.


The next step is to add a piece of "transfer tape" or masking tape over the vinyl on the backing sheet, and rub thoroughly over it, so all of the letters/designs stick to the transfer sheet.


Then you flip it over onto your tile, and everything stays perfectly in place! Isn't that easy? Now you rub all over the images with your fingers, and carefully pull away the transfer tape.


I wanted to give the back of my tile a nice cushioned, finished look, so I cut fun foam to fit. The piece that I had was 12x18, so it required a little piecing, but that wasn't a problem. I used the hot glue gun to adhere the foam to the tile. Work carefully, and pretty quickly, as the tile is cold, and causes the glue to set pretty quickly.


Here is the finished project, though I did go back and add a gold layer to the star, after I took this photo :)

If you are interested in the SVG file for this project, please leave a comment, or send me an email at the contact info listed in the right margain.

I hope you have enjoyed the tutorial, and will leave a comment or two!

Please check out BettyBeesBuzz and see the vinyl projects that the HoneyBees have done last week! Great ideas for home decor and gift ideas, as well as a place for you to share your projects!

Happy creating ~

BettyBee

Friday, July 24, 2009

Fab Friday TV! Business Card Tutorial


Thanks for coming by to check out my second installment of Fab Friday TV from Studio Bee! Our CuttlebugChallenge this week was to make anything BUT a card, so I designed this Business Card Holder...everyone has business cards of their own, or ones that others give us...well, now you can make designer wallets to hold them! The vinyl over cardstock makes them very sturdy, and very stylish! My Countdown to CHA Cuttlebug Folder this week is the beautiful and elegant VICTORIA FOLDER , and I love it!


Materials used:

Cardstock: Michaels, Vinyl: WallPops, Scor-It

Flowers: Prima, Cuttlebug, Folders: Provo Craft

Adhesive: Tacky Tape, Walmart

Ribbon, Buttons, Brad, Masking Tape: from my stash


If you would like to have the pattern for the business card holder, please leave me a comment with your email address, or email me at BettyBeeDesigns@hotmail.com. Please put Businss Card Holder Pattern in the subject line. I will be happy to send you the file. I am currently working on a .cut file for the Cricut, and will post when I have it ready.


I hope you are participating in the four week contest at CuttlebugChallenge! You could win BIG!....and you know that I want one of my readers to get those folders!! Just complete the four challenges in the month of July, and link your creation to Mr. Linky. Make sure you're a follower of our blogs, and you're in!


I hope you've enjoyed Fab Friday TV, and I'll be doing it again in a couple of weeks.


Happy Crafting!


BettyBee


Wednesday, July 22, 2009

Be Inspired - Emboss Vinyl


Good morning! Today's Cuttlebug Challenge is to create something other than a card! I had a lot of fun with this, and decided to get out my pencil and paper and draw up a pattern for something brand new... and a new technique, too. Here is my new Vinyl Business Card Holder. It is very sturdy with the vinyl covered cardstock, so that it takes a pretty good beating in my purse or briefcase. And I love the variety of colors and designs that are available. Today's introduction of the Cuttlebug embossing folders is the beautiful Victoria Folder...which I chose to do in pink Wall Pops Vinyl. Isn't it cute? The black is like Patent Leather, with a designer red band, and the brown is a surprise material.... This project will be the feature on my Fab Friday TV Video on Cuttlebug Challenge, so be sure to check it out! You can get the pattern then :-)

Don't forget that CuttlebugChallenge has an awesome contest going on, and you could win great prizes, including ALL of the new cuttlebug folders....so check out the fantastic projects the other designers have created, and be inspired!!
And I'll see you at CHA!!
Happy Crafting!!!

BettyBee