Showing posts with label Stampin' Up. Show all posts

Monday, June 3, 2013

Mighty Mini Album - New Edition

Occasionally we come across a design that is so much fun that we want to make it over and over, and this album seems to be it for me!  Last year I introduced this Mighty Mega Mini Album to you in three other designs, A Beautiful Baby (Graphic 45's Little Darling paper), a Spooky Halloween, here... and  in an elegant Black and White Romantic version.  This handy 5.5 x 6.5 size is perfect for seasonal or special occasion events, and is ideal for working with one pack of paper, such as this one from Stampin' Up. 

A friend asked me to make one for a graduation gift in purples and blues.

Add some butterflies from K and Co., Texture from a Darice embossing Folder...

Lots of interest and space for photos and journaling in easy to assemble stacked pockets...
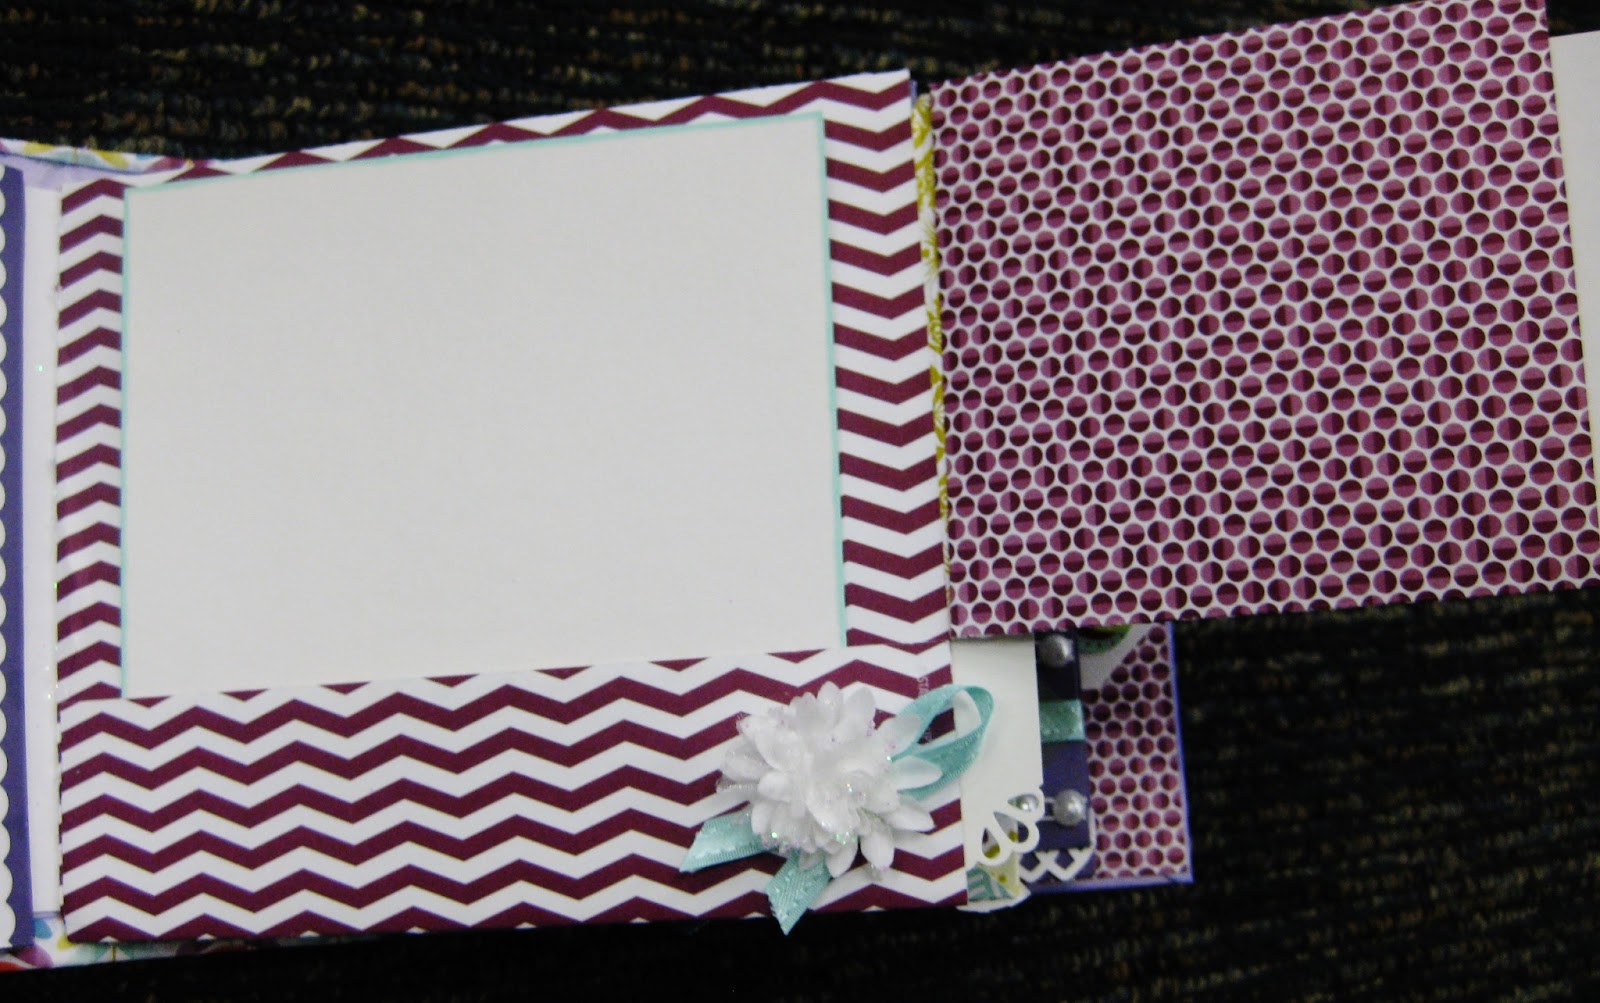
Movement and form create lots of fun!

Totally tags! 

More pockets, pearls and plenty of picture places!


Six easy to assemble pages in a very versatile book....
That give you the opportunity to make it to suit any desired look...
What is your next event?  
Wedding?
Tropical Vacation?
Graduation?
Baby?
I'm sure you will see me showing it again one of these days soon :)

The 13 page, photo laden tutorial for this album is available on the right side of this blog, and there is an archived class on my UStream channel showing how I made one!  Download it, and you can refer to it as desired.

I know you haven't seen much of me lately, but I have been a busy bee!  There are a couple of new tutorials coming along very soon, and I've been having some great classes locally.  I will try to get more of the goodies on here to share with you!

Happy crafting!


Photobucket

Wednesday, February 22, 2012

FACE Cards from Class

"FACE" Fun And Created (or Copied) Easily Cards!
These are the cards that we created in my UStream class last night  (If you missed it, the class was recorded and you can pop over to BettyBeeDesigns and check it out!) 
They are quick and easy to make, with lots of POP
and make great sets to give as gifts.

 This was my original inspiraton set, made with Anna Griffin papers, and the decorative items were made with stamps and punches.  The center trims were coordinated ribbons.
This set features a 2.25 x 5.5 piece of decorator paper on the bottom of the card face.  Then there are three  1.5 inch scalloped circles at the top.  The ones on the left were punched, and the ones on the right were cut with Basic Shapes 1 cartridge that comes with the Slice.  The buttons on the left were real, and the ones on the right are also made with the Basic Shapes 1 cartridge, and scored with a ball embossing tool on a soft mat.  The stamped image is from Stampin' Up!  The "Thanks" was done easily with the font letters from the Bon Appetite Slice cartridge,  Add a touch of twine and ribbon, and these are ready!
These notes are so cheerful!  They use the same dimensions as above.  The "vase" is a pitcher from the Faith Slice cartridge, with the handle removed, and trimmed across the top with scalloping scissors. The flowers on the left are purchased, and the ones on the right are from the Basic Shapes 2 Slice Cartridge.  Add a little  Stampin' Up! note, a little inking and a bit of trim, and these are ready to cheer up anyone's day :)
In the Garden of Life, "one of a kind friends" are the best,  and what's a better way to let them know than a very special card?!  Use the same dimensions as before, add a pretty trim across the middle, and a special greeting.  The one on the left is stamped, and the one on the right is also from the Bon Appetite cartridge.  The flowers are such fun! The pink one was punched with a 5 petal punch, then layered and the petals inked and curved.  The book print one was inked first, then four 5 petal flowers were cut with the Basic Shape 1 cartridge.  The first two layers were cut at 2" then one layer at 1.5"  and the last layer at 1".  Cut a flat circle to build upon.  Cut between two of the petals and overlap them to start the flower cupping upward.  Use a paintbrush handle to roll the petals into a natural look!  Glue the four layers inside each other, and then add a pretty pearl.  Done!
Last, but not least are the pretty butterflies.  The one on the left was stamped, then punched with a matching punch.  The one on the right was cut with Basic Shapes 2, first in red solid, and then in vellum, with the decorative design.  Score the body so it has a flat section in the center and adhere the pieces to the card with the wings fluttering.  Use a glittering Spica pen to add sparkle to the wings, and then draw out the flight path for your butterfly. 
I hope you enjoy making lots of fun and creatively easy cards!

Happy Crafting ~

Photobucket

Sunday, May 1, 2011

A challengeing Challenge!

Today's challenge at Whoopsi Daisy is to create something with NO LAYERS! 
Well, I love working with digital images, and one of the best features is printing them out in the size you want.  One great thing about Whoopsi Daisy images is getting the bargain of FOUR images on a sheet, SO when I printed out my super adorable firefighter, I needed to cut him away from the cute little girls that came on the sheet around him! 
Therefore, I think I still qualify for "no layers" since I didn't add mats around the outside of the card, or under the image and the sentiment, don't you!?! Ha!
Here he is in close up.  I colored him with Copics, and added a little shadow with water color pencils.  The edges of both circles are inked to make them POP!  This paper is from the Imaginisce Birthday Bash collection.  The sentiment is Stampin' Up! 
 
I have a little tid bit for you about the little red gems at the bottom... they are custom colored, just for this project!
 
First, start with Imaginisce white Metallic Glam Rocks, a sticky back note, and a permanent marker in the perfect color!

Stick the Glam Rocks to the sticky strip on the back of the note, so they stay put while you color them to match your project!  (Duh, why didn't I think of this sooner???!!!)

Attach with your battery operated I-Rock, and sit back and smile at your beautiful creation!! 

One last look at our Happy Birthday card!  This little fellow can handle a BUNCH of candles, and as the sentiment says... The more Candles, the BIGGER the Wish!

Do head over to Whoopsi Daisy and check out the rest of the Design Team's take on the No Layer Challenge, and see Linnie's darling images.  You can order them very easily, and enjoy coloring them for your next creations!

Happy crafting ~

 
Photobucket